Right around the beginning of October I got a huge case of cabin fever, which I normally don't get until around January. While rummaging through the house upending and re-potting any plant I could get my hands on, I stumbled across an old packet of tomato seeds. I figured, why not try to grow them indoors. I had never tried that before but I have a great south facing window that gets full sun all day long so I went with it. It is now November 4th and my little indoor gardening experiment is paying off. I have 11 tomato plants growing in my windowsill. Yesterday I had to transplant them into their own little containers. I took pictures of this process but for whatever reason everything turned out blurry even though it looked fine on my viewfinder, so I apologize ahead of time.
Here are the pictures of the transplanting adventure:
To begin collect your supplies and sprouts.
For transplanting I used plastic cups, a bowl full of dirt, a knife and some scissors. The mason jar full of white stuff is crushed egg shells. Rumors in the gardening world has it that the calcium in egg shells is like crack to tomato plants so I've been collecting them for a while.
 |
| Sprouts (about 3 weeks old) and crushed egg shells |
 |
| Recycled dirt |
 | ||
| Plain ol' plastic cups for potting containers |
After you have your supplies, look through your sprouts and determine which ones you want to use. From there, prepare one plastic cup for each sprout. To prepare the cups puncture a hole in the bottom for drainage and then fill with dirt.
 |
| Hole in cup for drainage |
Next, take a long something or another (I used a paint brush) and swirl it in the middle of the cup to create a deep hole for the plant. You want it to be deep enough that you can fit all of the roots into the hole and the plant.
 |
| Paint brush stick used to create hole in dirt for roots and plant |
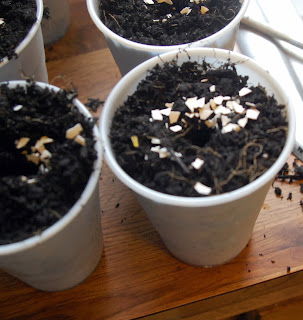
If you have an egg shell collection, add them now. I sprinkled them into the bottom of the hole so that the roots could get the calcium from them.
 |
| Egg shells crushed into dirt |
 |
| Baby tomato plants...aren't they cute!! |
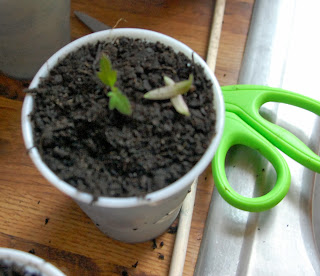
Once you have separated out the plants that you want, carefully tuck the roots of the plant into the hole followed by the whole plant. And by whole plant, I mean, you need to bury the plant all the way up to the bottom of the two smooth leaves.
 |
| Plant buried deep in the dirt. |
Once you have buried the plant, cut off the two smooth bottom leaves from the plant.
 |
| Snip, snip... |
Once you have done all of that, water the plants enough to wet the soil through and then find a nice sunny windowsill to put them in.
 |
| Happy plants sitting in full sun... |
And there you have it...tomatoes in November. I am hoping that these will grow to be full on plants that will produce tomatoes for us over the course of the winter. Time will only tell though. I will be sure to keep everyone updated on their progress.
Happy Planting,
Rachel B.

No comments:
Post a Comment